The first step is to drill some holes in your bucket.
This is to give somewhere for the fungi to fruit from. The holes don’t need to be big; 6 millimetres (1⁄4 inch) is fine, though slightly bigger is also not a problem. If they are too big the woodchip will fall out.
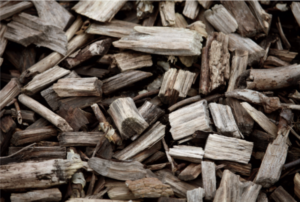
Next soak the woodchip. You can either do that in your pre-drilled bucket, by sticking the whole bucket into a larger container full of hot water. Or you can put the woodchip into any other container to soak and transfer. Then add alternate layers of spawn and woodchip into the bucket.
Leave the bucket for two to three weeks so that the fungi can colonise the woodchip.
It is vital to keep the woodchip moist during this period. If your bucket has a lid you can put that on, but it might also be worth covering the whole thing with a plastic sheet or bag to stop it drying out.
 If they have colonised well, you should start seeing some ‘pins’ (or baby mushrooms) starting to form through the holes in the side of the bucket.
Now move them to a shady, sheltered fruiting spot.
This can be outside or in a shed or garage. Again, the crucial thing is not to let them dry out.
You may need to water them to keep them producing. Water little and often to keep the chip moist but not wet.
In the right conditions you can often get a second or even third flush from the chip, however you can also use the infected woodchip to colonise new buckets, or add as a mulch in the garden where you might get more mushrooms.
Closing the Loop
Though mushrooms feed on the substrate as they grow, the spent material at the end of the harvest is still of value. By growing mushrooms on it we have effectively begun the composting process of the woodchip.
In an extensive outdoor system, the partially digested woodchip will already be in place as mulch or woodpile and can be left in place.
Material from an indoor system can augment your compost heap and newer woodchip piles. Alternatively sprinkle around existing plants or onto no-dig beds – especially good if you have used manure or coffee grounds in the mix.
Recommended Reads
Drill, Plug, Wax, Wait: 6 Simple Steps to Growing Mushrooms Outdoors

